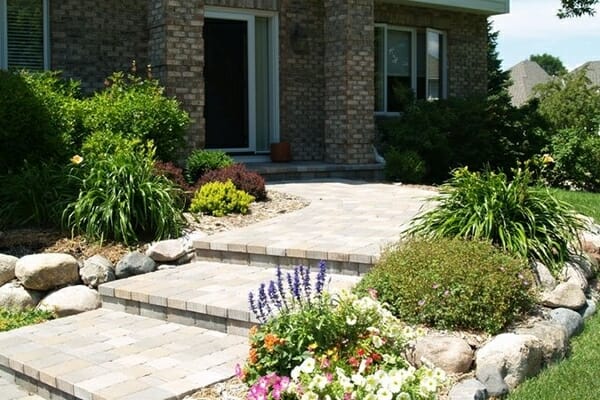
Enhance your home with a garden wall to create a stylish backdrop for flowers and shrubs. One of the most popular do-it-yourself projects, the garden (or retaining) wall contributes beauty, texture and line to your landscape year-round. One key reason for building a garden retaining wall is to create a level area for planting and vegetation and to prevent erosion. A traditional dry stack stone wall requires no mortar or footings as long as the wall is less than three feet high.
Determine the length, width and height of your wall, either by measuring the space or by working from drawn plans. Figure in up to 1/4 ton more stones than you think you will need to save extra trips and let you pick the best stones as you build. In general, walls up to two feet high should be 12-20 inches at the base. Include openings for walkways and gates in your plans. The following simple calculations will yield you the total amount of stone in tons needed for the wall:
Length in feet x Width in feet x Height in feet
= Cubic Feet
Cubic Feet x 125 Lbs.
= Lbs. Needed
Lbs. Needed ÷ 2,000 Lbs.
= Tons Needed
On average, one ton of material will construct a wall one foot wide, one foot high, and fourteen to eighteen feet long. And don’t forget to estimate for a two to four inch base of stone dust to promote drainage. You will need about twenty-five pounds of dust per linear foot.
Before you start preparing the site, call utility companies to have them mark underground gas, water, and utility lines. Sort your stones by size and shape to allow you to become familiar with the pieces. Set aside large flat pieces for base installation and longer flat pieces for deadmen stones (stones extended back into the fill material to provide extra stability) and capstones. If you need to size and shape pieces of flat stone, use a three-pound hammer and stone chisel to create a line where the stone should break. Hit the chisel with moderate force and go over the line of breakage several times until it parts evenly. For breaking large fieldstones, use a sledgehammer. Be sure to level the foundation from side-to-side to stabilize the wall in the long term. Use wood stakes to mark the front end and the corners of your wall, and connect the stakes with a mason’s line. Use a level to make sure the string is level. Remember that dry-stacked garden walls must lean backwards to prevent shifting soil from moving the stones forward and toppling the wall. Use handfuls of stone dust to help level uneven stones as you build the wall.
Use a string line, rope or hose to lay out the wall location. Mark with chalk, sand, or marking paint. Remove all surface plants and grass and dig a trench about six to eight inches deep, leveling the ground about eighteen inches wide (or four to six inches wider than your largest stone). The wall’s base should be one and one-half times wider than its height. Keep the dug-out soil near your working space and set aside small stones for later use as an element of the backfill. If working on a hillside, excavate or cut the ground to create a flat area and allow approximately twelve to eighteen inches for backfill materials and drainage. If building against an existing bank, dig out the soil to four inches behind where your wall will stand and shape the bank so the foundation for the wall pitches back toward the slope.
Line the excavated area with landscape fabric. Make sure that your seams overlap by six to eight inches. Create a base of two to four inches of stone dust and compact with a hand tamper or a vibrating plate compactor. Check for level.
Lay the largest, flattest stones in the trench, positioning the flat sides upward and aligning the front of the stone against the mason’s line. Adjust the stones in the dust to mold them into place. Fit the first row of stones together tightly end to end, especially near the ends of the wall. Stones of varying thickness can be stacked in the middle sections of the wall but the biggest bulkiest stones should be saved for corners and ends. Chink small stones into place to fill gaps. Each row of larger stones can be leveled using smaller stone pieces like shims. Set aside additional flat pieces for capstones. Fill the area behind the first course and in every crevice with stone dust and small stones, as the wall’s stability depends on the stability of the base course. Check for level from front to back and from side to side.
As you work your way up, always begin courses at corners or ends with a flat edge facing out and a flat surface facing up. Fill large gaps left between wall stones with small pieces of stone to keep soil from washing out under the wall. Use a variety of large and small stones to break up continuous vertical and horizontal joints, and keep vertical joints are staggered; there should always be an overlap with the stone above and the one below. Always check for level and fill gaps as you go, and add or remove stone dust or shim stones to adjust angles or positioning of the wall stones.