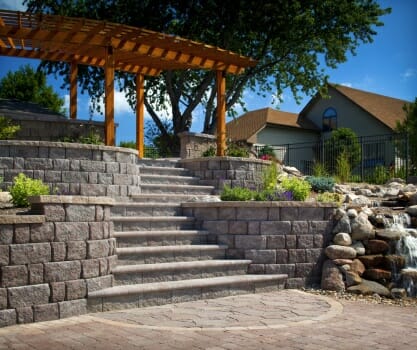
Begin your project by staking out the border of the wall you are going to build. Using a shovel or a skid loader, dig a trench along this line. If you are going to use one, two or three courses of block, make the trench deep enough to bury half of the first course of block plus 6″ (150mm) for the compactable base. If you are going to use four or more courses of block, make the trench deep enough to bury the first full course of block plus 6″ (150mm) for the compactable base. Firmly compact the soil in the bottom of the trench.
To prepare your base, lay 6″ (150mm) of compactable aggregate (sand and gravel) in the bottom of the trench and compact. We recommend using 3/4″ minus aggregate with fines for your base material. Quick tip: Spread a thin layer of sand over your base. This will make it easier to level your first course of block.
Before placing your first course of block, use your hammer and chisel to remove the rear lips from all blocks used for the first course. Position the Anchor blocks side by side, in full contact with the prepared base, and level in both directions using your carpenter’s level.
Remember, if the wall is one, two or three courses high, half of the first course must be buried. If the wall is four or more courses high, the entire first course must be buried.
After each course of block is laid, you must backfill your wall. First, shovel free draining aggregate directly behind the new course of blocks, extending out about 12″ (300mm). We recommend using 3/4″ (19.1mm) aggregate with no fines. We do not recommend using pea gravel. As a general rule, the backfill zone should extend as far behind the wall as the wall is high. For example, one foot back for a one foot high wall (300mm back for a 300mm high wall). Next, compact this backfill zone.
Continue assembling additional courses by placing units in a staggered relationship to the course beneath, (running bond) pulling each unit forward until secure. Once a new course is laid, backfill with aggregate and compact.
It may be necessary to use partial units to maintain running bond. To split a block, use a hammer and chisel to score the block on all sides. Pound the chisel along the score line until the block splits. If the block does not split easily, you may need to use a circular cut-off saw with a masonry blade. Read and understand the operating manual before using a saw. Always wear eye protection when splitting blocks. Alternate the position of partial units every other course and always adhere with a concrete adhesive.
Repeat these steps until your wall is complete.


